Receives project data currently stored on the display unit to a PC. You must set an IP address on the display unit prior to receiving data using Ethernet.
For more information about the Receive function, please refer to How Receive Works.
Please refer to the Settings Guide for details.
34.14.2 How Receive Works
Set an IP address in the "Ethernet Local Settings" on offline mode.
If transfer is not successful despite following the steps, refer to the following.
Maintenance/Troubleshooting Guide, T.2.4 Unable to transfer project (Ethernet cable)
Connect the LAN cable to the display unit to establish the network with the PC installed with GP-Pro EX. (Designate the same network IP address on your PC.)
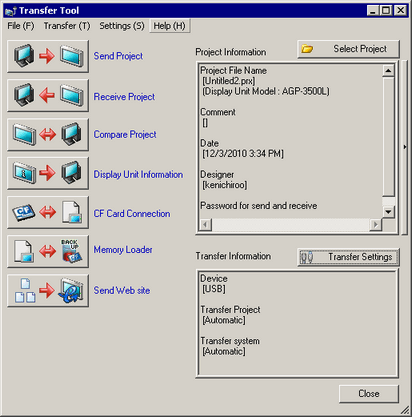
On the GP-Pro EX state toolbar, click the Transfer Project icon and launch the [Transfer Tool].
Make sure that [LAN] is selected for [Device] in [Transfer Information].
Click [Receive Project]. Specify the [Save in] location and [File name] for the data to be received, and click [Save].
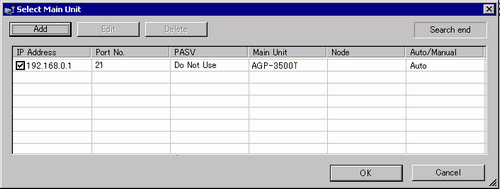
The [Select Display Unit] dialog box appears and the display unit's IP address on the network is shown. Select IP address of the target display unit and click [OK]. The transfer begins.
Detects the display units connected to the same subnet mask as the PC.
If the IP address was not automatically acquired, click [Add] and manually enter the IP address.
If you cannot transfer because of firewall or router restrictions, selecting the [PASV] check box sometimes allows you continue with the transfer.
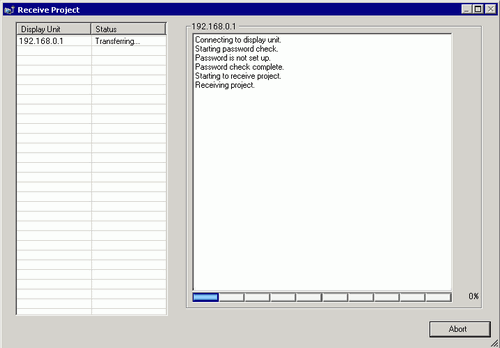
The following dialog box appears during file reception to check the communication status.
When the transfer finishes, the status changes from [Transferring] to [Transfer Complete].
Click [Close].
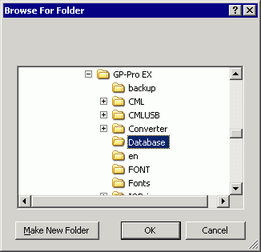
If you receive a project file that uses CSV Data Recipes or other CF/SD Card data, a file browser opens. Specify a location to save the data in the CF/SD card. Click [OK] to finish the process.
Click [Close] to return to the Transfer Tool. Click [Close] again to close the Transfer Tool.