Select [Enable FTP folder view (outside of Internet Explorer].
Clear [Show friendly HTTP error messages].
Select [Use Passive FTP (for firewall and DSL modem compatibility)].
Starting and Setting up Internet Explorer
Start Internet Explorer.
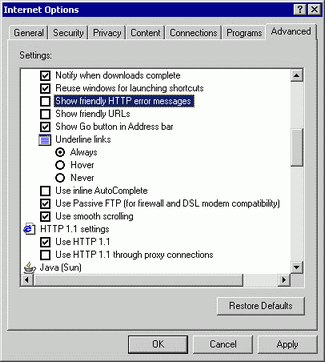
From the [Tools] menu, select [Internet Options]. In the [Internet Options] dialog box, click the [Advanced] tab to set up the following items.
Select [Enable FTP folder view (outside of Internet Explorer].
Clear [Show friendly HTTP error messages].
Select [Use Passive FTP (for firewall and DSL modem compatibility)].
Start Internet Explorer, and in the Address bar enter the IP address of the display unit.
(For example, 192.168.0.1)
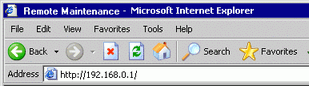
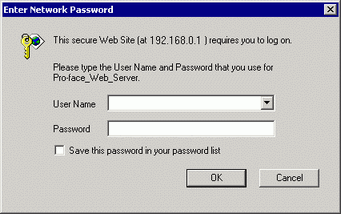
Press the Enter key to connect to the display unit's Web Server. If security is set up, the [Enter Network Password] dialog box appears. Enter the password, which can be up to 8 single-byte characters long, and click [OK].
(For example, "5555" (Security level that enables viewing and operating data on the display unit)
![]()
When the [User ID] is set up in the security settings, the [User Name] also needs to be inputted.
If security is set up and you exit Internet Explorer, the next time you reconnect, even if you type the URL to connect directly to the Web Server, you need to input the password again.
When you connect to the display unit's Web Server, the following [Welcome] screen appears.

Viewing and Operating Display Unit Data on the Web Server
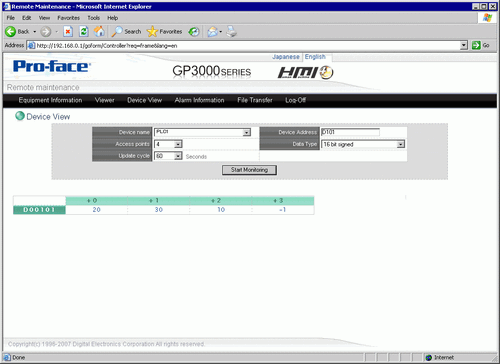
From the HTML menu, select [Device View].
[Device View] screen defines the range of device addresses to display and the update rate. Define the [Device/PLC Name], [Device Address], [Access Points], [Data Type], and also the monitoring frequency in the [Update Frequency] field.[Start Monitoring]. Select to begin monitoring screens.
(For example, [Device/PLC Name]=PLC1, [Device Address]=D101, [Access Points]=4, [Data Type]=16 bit signed, [Update Rate]=60
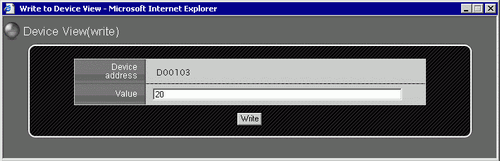
Click a value to display the [Device View Write] dialog box, and enter a new value in the [Value] field.[Write]. Click to set the value to the device/PLC, connected to the display unit. (For example, [Device Address] = D103, [Value] = 20)
![]()
In the [Value] field, input multiple values separated with either spaces or commas. Select [Write] to write the values to consecutive addresses from the defined address. Note, the number of consecutive addresses you can write to depends on the [Data Type], as follows.
|
Data Type |
Input Points |
|
Bit |
128 points |
|
16 Bit Signed |
36 points |
|
16 Bit Unsigned |
36 points |
|
16 Bit Hexadecimal |
42 points |
|
32 Bit Signed |
51 points |
|
32 Bit Unsigned |
21 points |
|
32 Bit Hexadecimal |
23 points |
|
Single-precision floating point |
28 points |
|
Double-precision floating point |
14 points |
|
Text |
256 bytes |
When you have completed viewing and operating the display unit, log off from the Web Server. From the menu, select [Log off] to display the following dialog box.
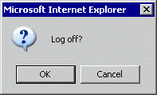
Click [OK]. When the following dialog box appears, select [Yes].

Close Internet Explorer to complete the log off process.