![]()
-
Please refer to the Settings Guide for details.
 3.8.6.6 Screen - Change View
3.8.3.4 Properties
![]()
Please refer to the Settings Guide for details.
![]() 3.8.6.6 Screen - Change View
3.8.6.6 Screen - Change View
![]() 3.8.3.4 Properties
3.8.3.4 Properties
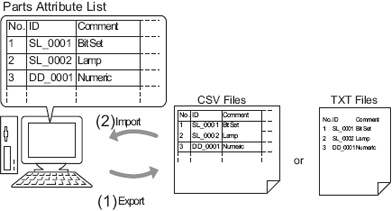
To change all attributes at once, you can export the list of attributes of parts in the CSV or text format, edit the settings and import it back to the original project file.
![]()
When you import, you can only update the attributes for the [Switch/Lamp] and the addresses/labels of the [Data Display].
If text registered in the Text Table is used as a label, that text will be skipped and cannot be imported.
Export
From the [Screen (S)] menu, click [Change View (V)] - [Parts List (P)].
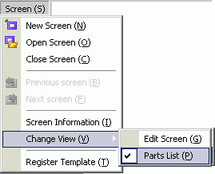
The screen editor changes to the screen list.
Parts attributes for selected [Parts] are displayed.

![]()
[Draw], [Trigger Action], and [D-Script] are not listed.
Click [Export] and the following dialog box appears. Select the [Save in] location, [File name], [Save as type], [Delimiter Setting(U)] and [Target Parts], then click [Save].
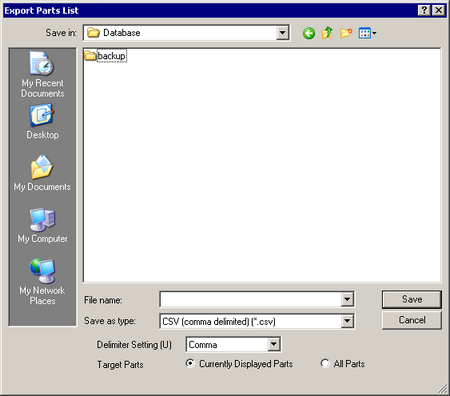
The file with the list of attributes is output in the specified format when the export is complete.
Edit
Edit addresses and labels in the exported file with an application such as Microsoft Excel or Notepad.
The edited file is saved in the same format that it was exported from (for example, CSV or text format).
![]()
You can edit only the addresses and labels of the [Switch/Lamp] and [Data Display] parts. Editing attributes of other items will not update them.
Import
Click [Import] on the Parts List screen.
![]()
When importing, the features of the parts in the project file must all correspond with the features described in the file to successfully update the attributes. If a feature does not match with anything in the file, the part cannot be updated.
In the dialog box that follows, specify the file you want to import and click [Open].
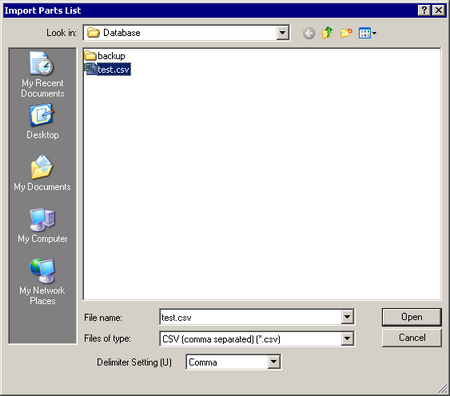
![]()
If importing from a CSV file, specify the [Delimiter Setting(U)] according to the separator character used in the file selected.
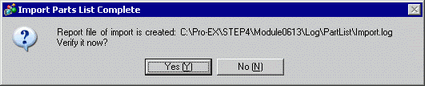
The following message appears after import is complete.
To check the results of the import, click [Yes] to display a log file.