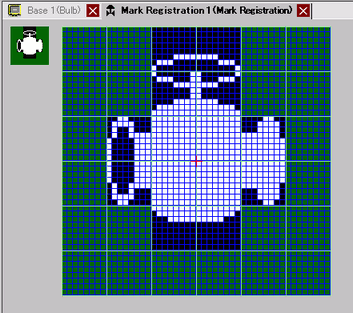
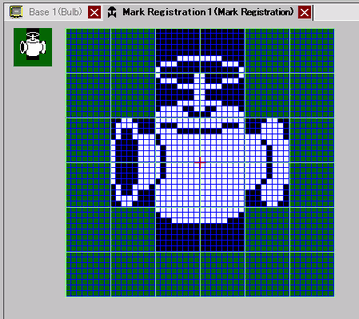
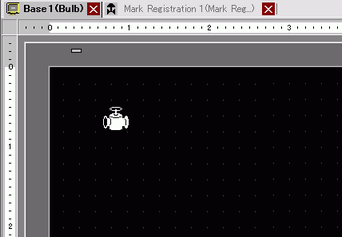
The following describes how to draw a valve using dots.
Please refer to the Settings Guide for details.
8.14.4 Common Settings (Mark Registration) Settings Guide
Created Mark can be registered in the mark library. If you read the mark library, you can use the registered Mark. Please refer to the Settings Guide for details.
8.14.4.3 Mark Registration
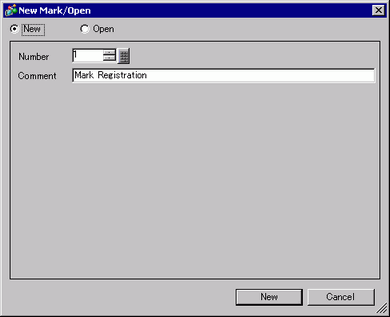
From the [Common Settings (R)] menu, click [Mark Registration (M)]. Select the [New] option, set the [Number] and [Comment] and then click [New]. (For example, [Number]=1, [Comment]=Mark Registration)
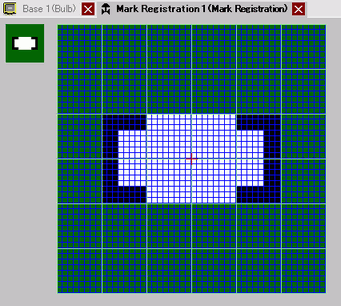
Create an outline of the valve body with a rectangle. From the [Draw (D)] menu, select [Filled Rectangle]. Place after dragging to adjust the size and location of the rectangle.
From the [Edit] menu, click [Undo (U)] to undo the command.
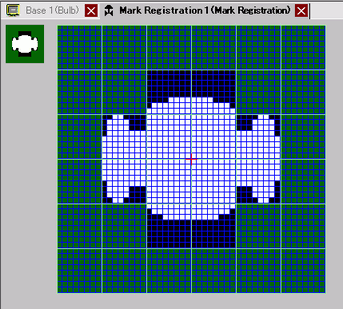
Create a valve opening with an ellipse. From the [Draw (D)] menu, select [Filled Circle/Ellipse (C)] and move the mouse to the canvas to adjust the size and location of the rectangular area.
Create an outline of the valve opening using [Color Inversion]. From the [Edit] menu, select [Color Inversion (Y)] to mirror the dot on the canvas. In this state, from the [Draw (D)] menu, select [Filled Circle/Ellipse (C)] and place the object after adjusting the size and location of the ellipse. After placement, click [Color Inversion (Y)] again to return to the canvas.
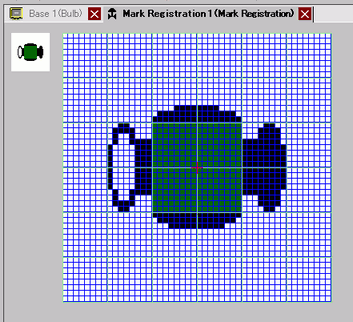
Create the handle part with an ellipse and rectangle. From the [Draw (D)] menu, select [Filled Circle/Ellipse (C)] or [Filled Rectangle (T)] and place the object after adjusting the size and location of the ellipse or rectangle.
Fine tune each part using dots. From the [Draw (D)] menu, click [Dot (D)]. To draw, you can click to turn ON (white) and right-click to turn OFF (black).
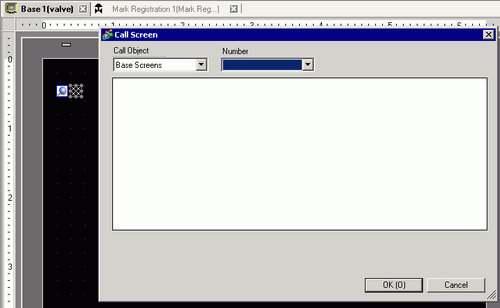
Click the [Base 1] tab and open a base screen to place the mark. From the [Draw (D)] menu, click [Call Screen (O)].
From the [Screen (S)] menu, select [New Screen (N)] to create a new base screen.
Click the screen drawing area to view a dotted border and display the [Call Screen] dialog box.
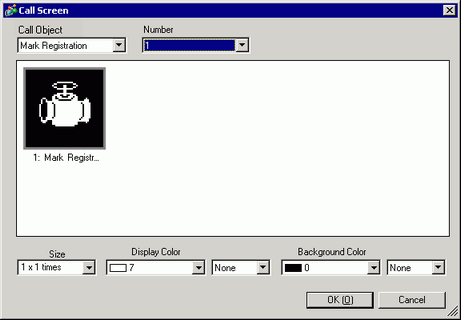
Select [Mark Registration] from [Call Object] and select the mark number registered in [Number]. (For example, 1)
You can designate the display color of the created mark.
Select an image and click [OK] to display the designated image.