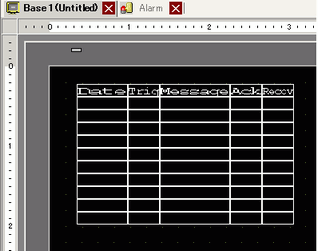
The maximum number of characters on one line and lines on one screen are decided by the type of display unit and [Size].
If your message is wider than the display area, the portion that exceeds the area is truncated and is not displayed. However, if your model supports the banner display of alarm history and [Enable Banner] is selected in the [Display Settings] tab, or if you are using GP-4100 series, longer messages can be displayed because messages scroll automatically as banner.
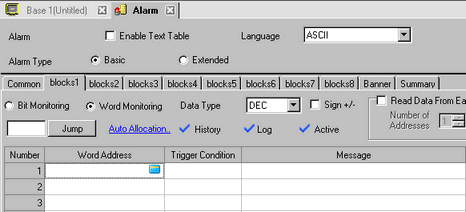
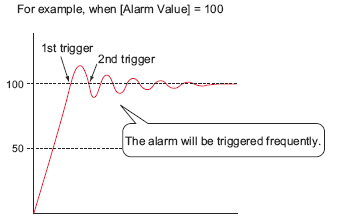
For [Word Monitoring], if the alarm value stored in the [Word Address] fluctuates frequently, the alarm will be triggered often.
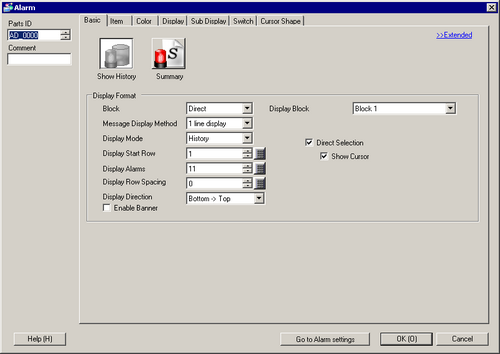
 20.12.1.3 Alarm Settings (Block 1) - Word Monitoring